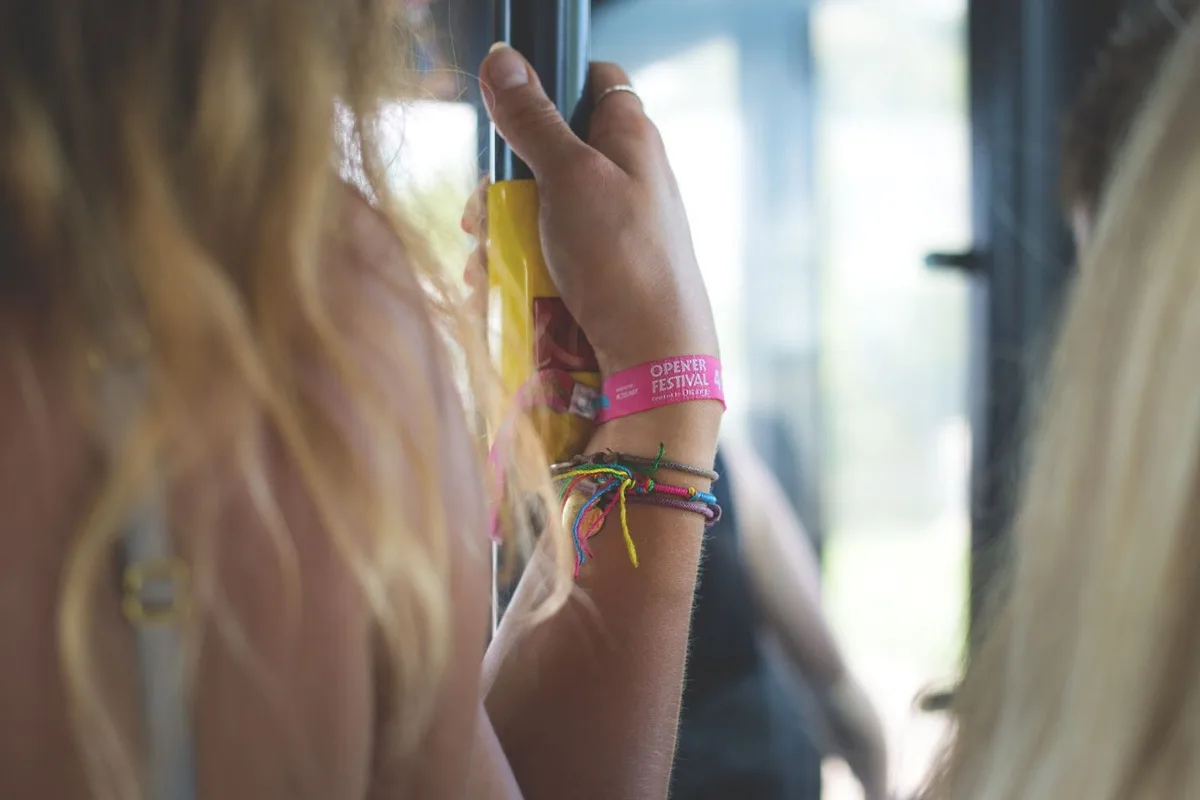
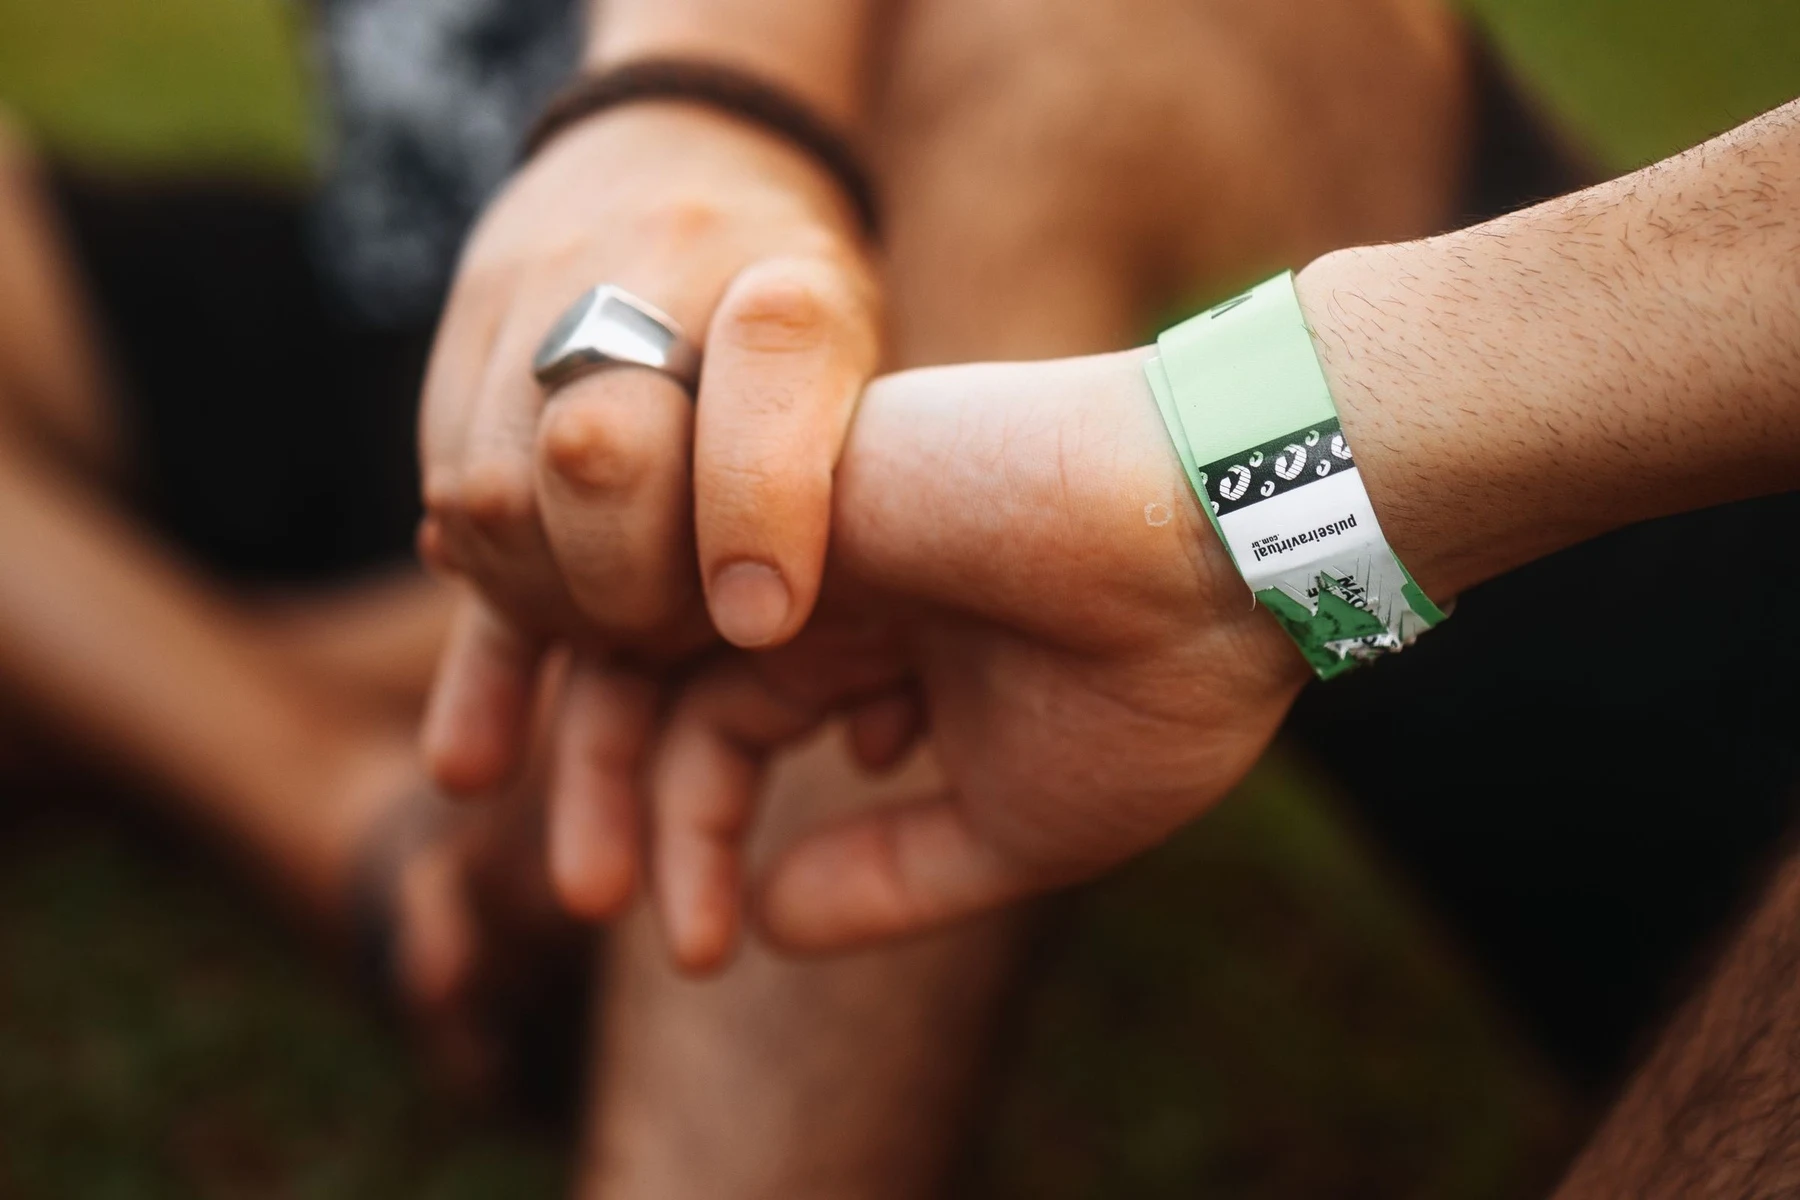
A Tyvek wristband is the simplest product at any event and the one most often applied badly. Put it on too loose and it slides off in the first hour. Put it on crooked and the adhesive only half catches. Both cost you a re-issue, and at a gate with a queue behind it, both cost time you do not have.
It takes about four seconds to do properly. Here is the method, plus what goes wrong and how to brief a team so a thousand bands all go on the same way.
How the closure actually works
A Tyvek wristband has a strip of adhesive at one end, covered by a peel-off liner, and a short tail at the other. The adhesive is one-way by design: once it bonds to the band, separating it tears the material.
That tearing is the security feature. A band that comes off intact can be passed to someone who did not pay, so the whole product is built around making clean removal impossible.
The practical consequence is that you get one attempt. There is no repositioning once the adhesive touches, which is why the sequence below matters.
The four-step method
1. Wrap first, stick last
Pass the band around the wrist and bring the ends together before peeling the liner. Judge the fit while you can still adjust it. Peeling first and then wrapping is the single most common cause of a badly applied band.
2. Set the gap
Leave roughly a finger's width between the band and the wrist. Snug enough that it will not pass over the hand, loose enough to rotate freely and stay comfortable all day. Too tight is a band that gets cut off; too loose is a band that falls off.
3. Peel and press straight
Remove the liner and press the adhesive down squarely onto the band. Keep the two ends aligned — a crooked join means only part of the adhesive is in contact, which is a band that will work loose by lunchtime.
4. Press along the whole tab
Run a thumb firmly along the full length of the adhesive strip. Most failures are simply under-pressed bands where the bond never fully formed.
Running a gate this season?
Tell us your numbers and we will recommend the band and the quantity, including spares for re-issues. Browse Tyvek wristbands or event wristbands.
Tell us your numbers and we will recommend the band and the quantity, including spares for re-issues. Browse Tyvek wristbands or event wristbands.
Applying to someone else's wrist
Most event bands are applied by staff, not by the wearer, and that changes the technique slightly.
Ask the person to hold their arm out with the hand relaxed and slightly open — a clenched fist makes the wrist larger and produces a band that is loose once the hand relaxes. Wrap, check the finger's-width gap, then peel and press. Keep your own fingers clear of the adhesive so nothing sticks to you instead of the band.
For children, size down noticeably from an adult gap. A child's hand passes through a much smaller loop than you expect, and a band a parent can slide off is a band a child certainly can.
What goes wrong
Peeling before wrapping. Forces a one-handed guess at the size, usually too loose.
Applying over a sleeve. The band ends up on fabric rather than skin, and comes off with the jacket.
Under-pressing. A light touch leaves a partial bond that works loose during the day.
Applying to a wet wrist. The adhesive needs a dry surface. At a pool or beach event, dry the wrist first — or use silicone bands, which do not care.
Trying to fix a crooked band. You cannot. Bin it and use a spare. Attempting to peel and reposition tears the band and wastes both it and the time.
Briefing a team
If several people are working a gate, consistency matters more than individual technique.
Demonstrate once, on someone's actual wrist, rather than describing it. Give everyone the same rule of thumb — "wrap first, one finger gap, press the whole tab" — so bands go on identically regardless of who applied them.
Make sure every station has spares within reach. The main reason a crooked band gets left on is that fixing it means walking away from the queue.
Removing one
Scissors, and that is the intended answer. A Tyvek band is designed not to come off any other way, and pulling at the adhesive tears it — which is the product working, not failing.
If the band is being kept as a souvenir, cutting through the plain part of the band rather than the printed section leaves the artwork intact.
Frequently asked questions
How do you put on a Tyvek wristband properly?
Wrap the band around the wrist first and judge the fit before peeling the liner. Leave about a finger's width of gap, then peel, press the ends together squarely, and run a thumb along the whole adhesive strip. Peeling before wrapping is the most common mistake.
How tight should an event wristband be?
About a finger's width of gap between band and wrist — snug enough that it cannot pass over the hand, loose enough to rotate freely and stay comfortable all day. Size down noticeably for children, whose hands pass through a smaller loop than expected.
Can you take a Tyvek wristband off and put it back on?
No, and that is deliberate. The adhesive is one-way, so separating the band tears the material. It is what stops a band being passed to someone who did not pay. If one goes on crooked, replace it with a spare rather than trying to reposition it.
Why do event wristbands fall off?
Almost always under-pressing or a crooked join, which leaves only part of the adhesive bonded. Applying over a sleeve or onto a wet wrist does the same. Press firmly along the entire tab, onto dry skin, with the ends aligned.
How do you remove a Tyvek wristband?
Cut it with scissors. It is built not to come off any other way. If it is being kept as a souvenir, cut through a plain section rather than across the printed artwork.
How many spares a gate actually needs
Application errors are the main reason a gate runs short, and they are predictable enough to plan for.
Budget around ten per cent over your expected attendance for a general event. Raise it to fifteen for a crowd that is mostly children, where bands go on smaller wrists, get caught on clothing and are removed by curious fingers far more often than adult bands.
Keep the spares at the gate rather than in a store room. The practical failure is not running out of bands overall — it is running out at the station where the queue is, while a full box sits somewhere else.
Checking bands after they are on
A quick check a few minutes after application catches most problems while they are still fixable.
Ask the person to rotate the band on their wrist. If it will not turn at all it is too tight and will be uncomfortable within the hour. If it slides toward the knuckles freely it is too loose and will be gone by lunchtime. Somewhere between those is correct.
Glance at the join. A band pressed squarely shows the two ends flush; a crooked one shows a visible step where only part of the adhesive caught. That step is where failure begins, and replacing the band at that moment costs one spare instead of a re-issue later.
At a staffed gate, having whoever is second in line do this check while the first person applies the next band costs no extra time and removes most of the day's re-issues.
Order event wristbands
- Tyvek wristbands — single-use, tamper-evident entry bands
- Event wristbands — the full range compared
- Fabric wristbands — barrel lock for multi-day events
- 24-hour dispatch — when the gate opens this week
Tell us your numbers and we will include enough spares for the re-issues. Designed in Sydney, shipped Australia-wide.

Written by
Founder, Handband
Founder of Handband; specialist in custom wristbands and promotional products for events, schools, charities, and brands.
← Previous
Custom Wristbands for Testicular Cancer Awareness Campaigns
Next →
Custom Wristbands for Hospice & Palliative Care Charity Fundraisers
Comment(s)